Sunday 2 September 2018

All is Bright - CTC194


Happy Sunday everyone and Happy Father's Day to all the Dad's out there! This week at CASEing the Catty we are CASEing from the brand new Holiday Catalogue. So many great goodies within it's pages, my wish list grew exponentially, I bet yours will too! The section we are covering this week is.....


I decided to CASE this card.......


That is, the one that the person is holding in the picture. For my version I changed the colour palette and stepped it up a bit.


To "step it up", I've added sequin trim and rhinestones, I've dry embossed the banner with the sequins folder and embossed the stamped images on the purple piece with silver embossing powder. My colour palette was a bit not traditional Christmas colours and I went with Lemon Lime Twist, Gorgeous Grape and Bermuda Bay.

If you would like to play along with our challenge and to get more details click the graphic below...


Make sure you keep hopping along and see all that the crew have to show you, next stop is the very talented Elizabeth Gross, just click the graphic below to hop on over.....


Thank you so much for stopping by! Have a wonderful week!

Inky hugs,
Megan xx

Sunday 19 August 2018

It's All About the Texture! - CTC192


Hello again! It's a busy night tonight with two blog hops I'm participating in! This one you should be familiar with, as it is our weekly CASEing the Catty Blog Hop. This week we are CASEing.....


What to CASE, what to CASE? There are so many possibilities in our gorgeous catalogues, I couldn't decide, that was until I spied this card (bottom, left) using one of my all time favourite stamp sets Painted Harvest.....


I've shabbied mine up a little more by distressing the paper and inking the edges of some of the layers. The DSP I've used is the Tranquil Textures DSP.

Some inside love!

Following me tonight on the blog hop is the gorgeous Angela Meirtiz-Reid, don't miss her fabulous project or anyone else's for that matter! Make sure you hop all the way around! Just click the graphic below.....


And to join in on the challenge, it's super easy, no blogging needed just a Facebook account! Click the graphic below for more details.....


Thanks for stopping by!

Inky hugs,
Megan xx

ESAD Colour Your Season Blog Hop


Happy Sunday everyone! I am participating in a blog hop tonight with a bunch of talented ESAD members.....

.... and we are showing you all things Colour Your Season. Colour Your Season is an exclusive stamp set that has coordinating dies that is only available for a limited time. Also released, was an exclusive set of watercolour pencils, that which I will be showcasing for you today. 

I decided that I wanted to utilise the new embossing mats for the Big Shot. These allow you to use your dies as embossing tools rather than cutting, how versatile does that make everything?! Instead of using dies though I've used the masks (stencils). The sample below shows the mask used as it was intended.....


I've used the shimmery white embossing paste, they can also be used by sponging ink through them too. I used the new set of watercolour pencils to colour the image on Whisper White cardstock and then blended with my blender pen.


For the sample above, you can see that the clouds are embossed into the cardstock, I did this with that same mask/stencil with the help of the new embossing mats. If you look closely, you may notice that the clouds do not go across the image. To achieve this I created my own diffuser. For the colouring I used the watercolour pencils on the Smoky Slate cardstock and used the no line technique, blending was done without any water, I just shaded like you would with colouring pencils. Just because they are WATERcolour pencils,doesn't mean you have to wet them!


To do this I stamped the image and cut around it and then used the negative to cut out a thick cardboard diffuser. As you saw the positive was not wasted and used on the first card with the wet embossing.


Here it is loaded up on the Big Shot, the sandwich I have used is -: Base Plate, Blue Rubber Mat, Cardstock, Mask/Stencil, DIY Diffuser. A tip for you!, make sure your diffuser is the right way up, so that when you stamp your image it is in the same orientation. Yes, I learnt from experience! For my next go I actually stamped the image first and that made lining up everything super easy! I just forgot to take another picture, oops!

I also made another card stamping the image with Versamark and heat set with Black Embossing Powder.....


I had a little accident with the Black Embossing Powder on her skirt so instead of throwing it in the bin I stamped her skirt on a piece of DSP and fussy cut it out. Waste not, want not!

Time for you to hop on over to the very talented Libby Dyson, just click the arrow below...


Thank you so much for stopping by, if you get lost at all along the way there is a blog hop participant list at the end of my post, from there you can click on any name and be taken to their blog.

Inky hugs
Megan xx

Blog hop participant list:

Sunday 12 August 2018

Crushing on Nature's Poem - CTC191


Happy Sunday everyone! This week at CASEing the Catty we are CASEing the Nature's Poem section of the Annual Catalogue......


I think the Nature's Poem Suite is my favourite suite out of the catalogue! I think I might have to hide it from myself for my next creation, otherwise, you are all going to get sick of it! Nope, I don't think it's possible to get sick of it, but I will try to change it up for the next one! I just so love the colour palette, the images, the embellishments, the whole lot actually! For my CASE this week I chose this card on page 144.....


I love that log cross section image, it stamps beautifully and looks amazing with the white embossed sentiment on it. The stamp set has coordinating Nature's Roots Framelits Dies, however not for the cross section as it is super easy to fussy cut out. I'm so glad there is framelits for the leaf branches though! They would have taken a while to cut out!


As you can see I have kept a very similar colour palette but changed up some of the layers and instead of using two pieces of that gorgeous Nature's Poem Designer Series Paper (DSP), for the banner I created my own embossed DSP. The framelits come with a couple of embossing dies, that is they don't cut all the way through but leave a beautiful embossed image. Of course, Stampin' Up! think of everything and you also get outline framelits so that you can also have the embossed images stand alone too, ie the leaves can be cut out.
  • Stamps - Rooted in Nature
  • Dies - Nature's Roots Framelits Dies
  • Other - Pinewood Planks Embossing Folder, White Embossing Powder
  • Cardstock - Thick Whisper White, Soft Suede, Grapefruit Grove, Whisper White
  • DSP- Nature's Poem
  • Ink - Mint Macaron
  • Embellishments - Nature's Twine Crumb Cake
Why not join in on our challenge this week? There is so much inspiration in those pages, it would be a shame to not use them! Just click the graphic below for more details.....


To keep on hopping around to all the crew click the graphic below, your next stop is the lovely Angela Meiritz-Reid, 


Thanks for stopping by!

Inky hugs, 
Megan xx

Sunday 5 August 2018

CTC190 - Artistic Expressions


It's CASEing the Catty time! Every week a group of Stampin' Up Demonstrators love to take inspiration from the gorgeous Stampin' Up! Catalogues (Catties) and CASE (Copy & Selectively Edit or Share Everything) and then share their creations with you via a blog hop. I LOVE CASEing the Catty, it makes coming up with designs so easy to do as there in the catalogue are amazing ideas that you can use as a jumping off point! Each week we CASE a different section of the catty, this week we are taking inspiration from......


At our last OnStage event (conference), one of the many freebies I came home with was the Swirly Frames stamp set (page 137). I love this stamp set as it allows me to showcase other stamp images in a new & fun way. For this reason when I saw the green sample card pictured below I knew this is what I was going to CASE.


The sketch/layout of the green card could be used with so many different stamp sets, for my card I have used the Rooted in Nature stamp set.....


As you can see, CASEing is as simple as changing up the colours and the stamp set and voila!, you get your own unique design! There is a few of us crew members that have chosen to CASE this card and as you will see, they are same-same but different! Why not give CASEing a go this week and join in on our challenge? For more details click the below graphic.....


Some inside love!

  • Stamps - Rooted in Nature & Swirly Frames
  • Cardstock & Inks - Highland Heather & Blackberry Bliss
  • Dies - Layering Squares Framelits
Thank you so much for stopping by, now it is time for you to hop on over to the very talented Mel Pagano, just click the graphic below to jump on over & see what creative goodness that Mel has in store for you this week.....


Inky hugs!
Megan xx


Saturday 4 August 2018

Stitched All Around - CI38


Hello lovelies! I'm just popping in quickly (working this weekend 😞) to share with you a card I have done for the Colour INKspiration Challenge. The colours for the challenge were.....

For more details on the challenge,
click the image above!

How yummy are those colours?! I had to use one of my new favourite stamp sets Stitched All Around with its coordinating Stitched Labels Framelits, those stitched die shapes are to die for and I love the sentiment I have used on my card.....


  • Stamps - Stitched All Around
  • Dies - Stitched Labels Framelits & Delicate Lace Edgelits
  • Cardstock - Powder Pink, Grey Granite, Berry Burst, Whisper White & Basic Black
  • Embellishments - Berry Burst Metallic-Edge Ribbon, Clear Rhinestone Basic Jewels
  • Other - Black Stampin' Emboss Powder
Some inside love!

Thank you so much for stopping by and reading my blog!

Inky hugs,
Megan xx

Sunday 29 July 2018

Do Something Awesome - CTC189


Well, hello lovelies! It seems like eons since I last frequented blogland or my craft studio. We went away for a family holiday for most of this month and had a super awesome, relaxing time. Breakfast was had on average at 9am, I hardly looked, let alone posted anything on Facebook or Instagram (not even the holiday pics!), so I think I was in need for a big rest and digital world detox!

I'm super excited to be back, in my craft studio that is, not work! There is lots to catch up on like designing for our next card class, participating in some challenges & getting my order in for the promo's finishing on the 31st! Have you checked out the super offer of Designer Series Paper (DSP) buy 3 get 1 free? I am using DSP so much more in my cards and really want to get some scrapbooking done so I've made sure I've stocked up on all those gorgeous papers. For more information on this offer click the graphic below, only two days to go!


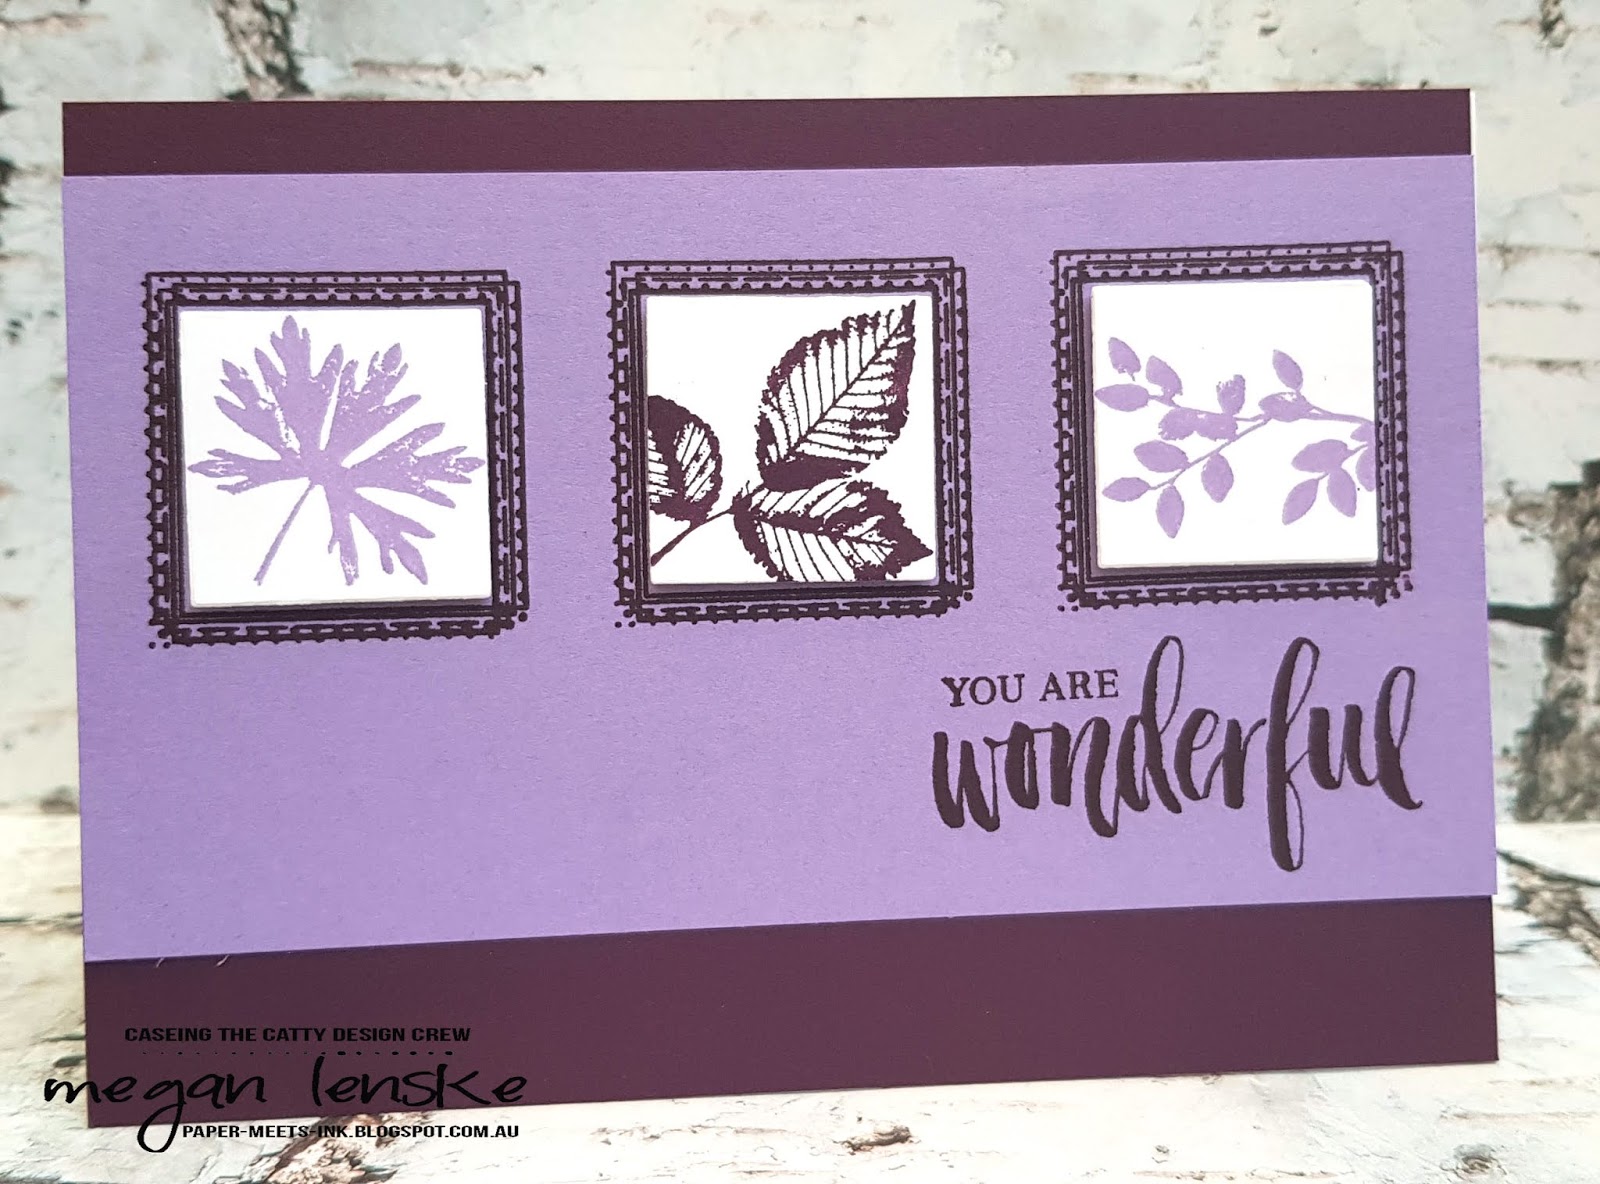
This week for CASEing the Catty we are CASEing (Copy & Share Everything/Edit) from the section....


The project I have CASEd this week had a technique that I have been meaning to try for quite a while, you know, so many techniques, so little time! You can find it on page 115 of the Annual Catalogue and here it is here......


I have been wanting to try that technique of melting a nice big blob of embossing powder and then stamping into it, a bit like a faux seal. Very appropriate at the moment as I am reading the Philippa Gregory Plantagenets & Tudor series of books, they are set back in the 16th century and they are fovever writing to each other and sealing there letters with wax and their seal! Here is my CASE....


Now, don't you think if the people back in the 16th century had seals that said "Do Something Awesome Every Single Day" that they might not have beheaded each other quite so much?! A little more positivity could've made a lot of difference!

To achieve my molten blob of Silver Embossing Powder I took the Versamark refill bottle and squeezed it directly onto my paper in the desired shape (it doesn't need a thick layer, so don't waste it!). Then, I sprinkled on the embossing powder and heated it until it was liquid-y and while still hot and liquid-y sprinkled another layer of embossing powder and continued that for five layers (maybe four, I lost count). On the final layer while it was still tacky (but not molten hot, I was a bit worried that I might wreck my stamp) I pressed my stamp into the pool of melted embossing powder and held it there until it cooled a bit and then finally lifted up to reveal the sentiment. Voila!

If you lift your stamp up and you are not happy with the impression, no problems! Just heat it up again!
  • Stamps - EnRoute
  • DSP - Best Route
  • Cardstock - Pineapple Punch, Whisper White
  • Embellishments - Best Route Enamel Shapes, Best Route Washi Tape, Whisper White Solid Bakers Twine
  • Other - Silver Stampin' Emboss Powder, Heat Tool, Stamparatus
Some inside love!

To participate in the challenge is super easy to do, for more details click the graphic below.....


Well that's it for me this week, but make sure you hop around to all the other CASEing the Catty Crew and see what they have for you also. Next on the hop is the talented Monique Fielder, who has a gorgeous card to share with you. Just click the graphic below.....


Inky hugs,

Megan xx